Overview
오늘은 Vaultwarden에 대해 알아보겠다.
Vaultwarden은 Bitwarden 서버의 오픈 소스 대안으로, 가볍고 효율적인 자체 호스팅 비밀번호 관리 솔루션이다. 공식 Bitwarden 서버보다 리소스를 적게 사용하며, 자체 서버에서 안전하게 패스워드를 관리할 수 있도록 설계되었다.
이 글에서는 Vaultwarden의 개념과 주요 기능, Bitwarden과의 차이점, 그리고 Kubernetes 환경에서 Helm을 이용한 Vaultwarden 설치 방법을 살펴보겠다.
주요 내용
- Vaultwarden 개요 및 특징
- Bitwarden과의 차이점
- Helm을 활용한 Vaultwarden 설치 및 구성
- SMTP 설정을 통한 이메일 알림 기능 추가
- 데이터 백업을 위한 CronJob 설정
Vaultwarden을 활용하면 클라우드 서비스에 의존하지 않고 자체 인프라에서 비밀번호를 더 안전하고 효율적으로 관리할 수 있습니다.

📅 관련 글
2022.10.11 - [Networking, Security, Protocols] - Vault란?
2024.01.24 - [Networking, Security, Protocols] - Vault 설치와 사용법
2024.11.08 - [Open Source Software] - Vaultwarden(Bitwarden)이란?
Vaultwarden이란?
Vaultwarden은 공식 Bitwarden 서버에 대한 오픈 소스 자체 호스팅 대안이다. 자체 인프라에서 Bitwarden 호환 비밀번호 관리자를 실행할 수 있는 가볍고 효율적인 방법으로 설계되어 Bitwarden 클라우드 서비스에 의존하지 않고 비공개로 데이터를 관리하려는 개인 및 소규모 팀에 유용하다.
개요
Vaultwarden은 Bitwarden의 공식 스택(.NET 사용) 대신 Rust를 사용하여 가벼운 접근 방식으로 Bitwarden 서버의 기능을 복제하는 것을 목표로 하는 커뮤니티 개발 오픈 소스 프로젝트이다.
Vaultwarden은 대부분의 Bitwarden 기능을 지원하고 Bitwarden 클라이언트(예: 모바일 앱 및 브라우저 확장 프로그램)와 작동하지만 종속성이 적고 리소스가 작아서 호스팅이 더 쉽고 저렴하다.
주요기능
- 경량 및 효율성: Vaultwarden은 리소스 효율적으로 설계되었으며 Raspberry Pi 또는 소형 가상 서버와 같은 최소 하드웨어에서 실행하는 데 이상적이다.
- 호환성: 공식 Bitwarden 클라이언트와 호환되므로 사용자는 Bitwarden의 모바일, 웹 및 데스크톱 클라이언트를 사용하여 Vaultwarden에 액세스할 수 있다. (Google Extensions)
- 사용자 정의 및 확장 가능: Vaultwarden에는 사용자 등록, OAuth, 2단계 인증, 조직 공유와 같은 기능을 활성화 또는 비활성화하는 옵션을 포함한 여러 구성 옵션이있다.
Bitwarden 과의 차이점
- 공식 지원 없음: Vaultwarden은 커뮤니티 중심 프로젝트이므로 Bitwarden의 클라우드 서비스가 제공하는 공식적인 지원이나 보증이 제공되지 않는다.
- 기능 격차: Vaultwarden은 핵심 Bitwarden 기능을 지원하지만 일부 고급 기능(예: 기업별 기능)은 제한되거나 사용할 수 없다.
- OAuth 및 ID 관리: Vaultwarden에는 ID 관리 엔드포인트(예: /identity/connect/token)를 활성화하는 옵션이 있지만 이 기능에는 타사 인증 솔루션과의 호환성을 위해 추가 구성이 필요할 수 있다.
Vaultwarden 설치
helm 을 사용해서 간단하게 vaultwarden 설치를 진행해본다.
# git clone
git clone https://github.com/gissilabs/charts.git

# helm repo 등록
helm repo add gissilabs https://gissilabs.github.io/charts/

# 경로 이동 및 values 파일 복사
cd ~/charts/vaultwarden
mkdir values
cp values.yaml values/mgmt.yaml
backup template이 없기 때문에 작성해준다.
`templates/backup-cronjob.yaml`
{{- if .Values.persistence.enabled -}}
{{- if .Values.backup.enabled -}}
{{- $fullName := include "vaultwarden.fullname" . -}}
{{- if .Capabilities.APIVersions.Has "batch/v1"}}
apiVersion: batch/v1
{{- else }}
apiVersion: batch/v1beta1
{{- end }}
kind: CronJob
metadata:
  name: {{ include "vaultwarden.fullname" . }}-database-backup
  labels:
    {{- include "vaultwarden.labels" . | nindent 4 }}
spec:
  schedule: {{ .Values.backup.schedule | quote }}
  # Disallow concurrency if writing the same file
  {{ if .Values.backup.timestamp -}}
  concurrencyPolicy: Allow
  {{ else }}
  concurrencyPolicy: Forbid
  {{ end }}
  jobTemplate:
    spec:
      template:
        spec:
          containers:
          - name: {{ include "vaultwarden.fullname" . }}-database-backup
            image: "{{ .Values.backup.image.repository }}:{{ .Values.backup.image.tag }}"
            imagePullPolicy: {{ .Values.backup.image.pullPolicy }}
            env:
            - name: SOURCE_DATABASE
              value: /data/db.sqlite3
            - name: BACKUP_DATABASE
              value: {{ .Values.backup.path }}/backup.sqlite3
            - name: TIMESTAMP_BACKUP
              value: {{ .Values.backup.timestamp | quote}}
            - name: TIMESTAMP_FILE
              value: {{ .Values.backup.timestamp_file | quote}}
            volumeMounts:
            - mountPath: /data
              name: data-storage
            - mountPath: {{ .Values.backup.path }}
              name: backup-storage
            {{- with .Values.backup.resources }}
            resources:
              {{- toYaml . | nindent 14 }}
            {{- end }}
          volumes:
          - name: data-storage
            persistentVolumeClaim:
              claimName: {{ if .Values.persistence.existingClaim }}{{ .Values.persistence.existingClaim | quote }}{{- else }}{{ include "vaultwarden.fullname" . }}{{- end }}
          - name: backup-storage
            persistentVolumeClaim:
              claimName: {{ include "vaultwarden.fullname" . }}-backup
          restartPolicy: OnFailure
          {{- with .Values.backup.nodeSelector }}
          nodeSelector:
            {{- toYaml . | nindent 12 }}
          {{- end }}
          {{- with .Values.backup.affinity }}
          affinity:
            {{- toYaml . | nindent 12 }}
          {{- end }}
          {{- with .Values.backup.tolerations }}
          tolerations:
            {{- toYaml . | nindent 12 }}
          {{- end }}
{{- end }}
{{- end }}
`templates/backup-persistentvolumeclaim.yaml`
{{- if .Values.persistence.enabled -}}
{{- if .Values.backup.persistence.enabled -}}
{{- $fullName := include "vaultwarden.fullname" . -}}
apiVersion: v1
kind: PersistentVolumeClaim
metadata:
  name: {{ include "vaultwarden.fullname" . }}-backup
  {{- with .Values.persistence.annotations }}
  annotations:
    {{- toYaml . | nindent 4 }}
  {{- end }}
spec:
  accessModes:
    - {{ .Values.backup.persistence.accessMode | quote }}
  resources:
    requests:
      storage: {{ .Values.backup.persistence.size | quote}}
  {{- if .Values.backup.persistence.storageClass }}
  storageClassName: {{ .Values.backup.persistence.storageClass | quote }}
  {{ end }}
{{- end }}
{{- end }}
`mgmt.yaml` 수정
아래의 chart를 보면 길지 않아 크게 어렵지않게 구성할 수 있다.
database:
  type: sqlite
  wal: true

# Set vaultwarden application variables
vaultwarden:
  verifySignup: false

  admin:
    enabled: true
    disableAdminToken: false
    token: "Somaz!123"

  emergency:
    enabled: true

  # Enable SMTP. https://github.com/dani-garcia/vaultwarden/wiki/SMTP-configuration
  smtp:
    enabled: false
    host: ""
    from: ""
    security: starttls


service:
  type: ClusterIP
  httpPort: 80
  externalTrafficPolicy: Cluster
  # loadBalancerIP:
  nodePorts:
    # Choose NodePorts manually
    http: ""

# Kubernetes Ingress
ingress:
  enabled: true
  className: "nginx"
  host: "vaultwarden.somaz.link"
  annotations:
    nginx.ingress.kubernetes.io/force-ssl-redirect: "true"
    nginx.ingress.kubernetes.io/backend-protocol: "HTTP"
    # kubernetes.io/ingress.class: nginx
    # kubernetes.io/tls-acme: "true"
  tls: []
  #  - secretName: vaultwarden-tls
  #    hosts:
  #      - vaultwarden.local

persistence:
  enabled: true
  size: 25Gi
  accessMode: ReadWriteOnce
  ## Persistent Volume storage class
  storageClass: "default"

backup:
  enabled: false
  path: "/backup-data"
  size: 25Gi
  storageClassName: default

image:
  pullPolicy: IfNotPresent
  repository: vaultwarden/server
  tag: ""

fullnameOverride: "vaultwarden"

replicaCount: 1

serviceAccount:
  # Specifies whether a service account should be created
create: true- `verifySignup: true` 로 설정하면 누구나 가입 가능, `false` 면 관리자 초대 필수.
- `admin.token`: Vaultwarden 관리 페이지 접속 시 필요한 토큰. 필수값!
- `emergency`: 마스터 비밀번호 분실 시 복구 기능 제공 여부.
- `smtp`: 이메일 인증이나 비밀번호 찾기 기능을 위한 SMTP 설정.
smtp 설정을 하고싶다면 아래를 참고하길 바란다.
 # Enable SMTP. https://github.com/dani-garcia/vaultwarden/wiki/SMTP-configuration
  smtp:
    enabled: true
    # SMTP hostname, required if SMTP is enabled.
    host: "smtp.office365.com" # office365 기준이다.
    # SMTP sender e-mail address, required if SMTP is enabled.
    from: "noreply@somaz.link"
    ## SMTP sender name, defaults to 'Vaultwarden'.
    fromName: "Somaz, Inc."
    # Enable secure SSL connection. Options are: "starttls", "force_tls" and "off"
    # Users migrating from 1.24 or lower using ssl/explicitTLS settings:
    #   ssl = false -> "off"
    #   ssl = true and explicitTLS = false -> "starttls"
    #   ssl = true and explicitTLS = true -> "force_tls"
    security: starttls
    ## SMTP port. Defaults depends on security: 465 for "force_tls", 587 for "starttls" and 25 for "off"
    port: 587
    ## SMTP Authentication Mechanisms. Comma-separated options: 'Plain', 'Login' and 'Xoauth2'. Defaults to 'Plain'.
    #authMechanism: Plain
    ## Hostname to be sent for SMTP HELO. Defaults to pod name.
    #heloName: ""
    ## SMTP timeout.
    timeout: 15
    ## Accept SSL session if certificate is valid but hostname doesn't match. DANGEROUS, vulnerable to men-in-the-middle attacks!
    #invalidHostname: false
    ## Accept invalid certificates. DANGEROUS, vulnerable to men-in-the-middle attacks!
    #invalidCertificate: false
    ## SMTP username.
    user: ""
    ## SMTP password. Required is user is specified, ignored if no user provided.
    password: ""
    ## Use existing secret for SMTP authentication. Keys are 'smtp-user' and 'smtp-password'.
    #existingSecret:
    ## Embed images as email attachments
    #embedImages: true
이제 설치를 진행한다.
# lint 확인
helm lint --values ./values/mgmt.yaml

# 설치전 확인
helm install vaultwarden . -n vaultwarden -f ./values/mgmt.yaml --create-namespace --dry-run >> output.yaml

# 설치
helm install vaultwarden . -n vaultwarden -f ./values/mgmt.yaml --create-namespace

# 업그레이드 방법
helm upgrade vaultwarden . -n vaultwarden -f ./values/mgmt.yaml
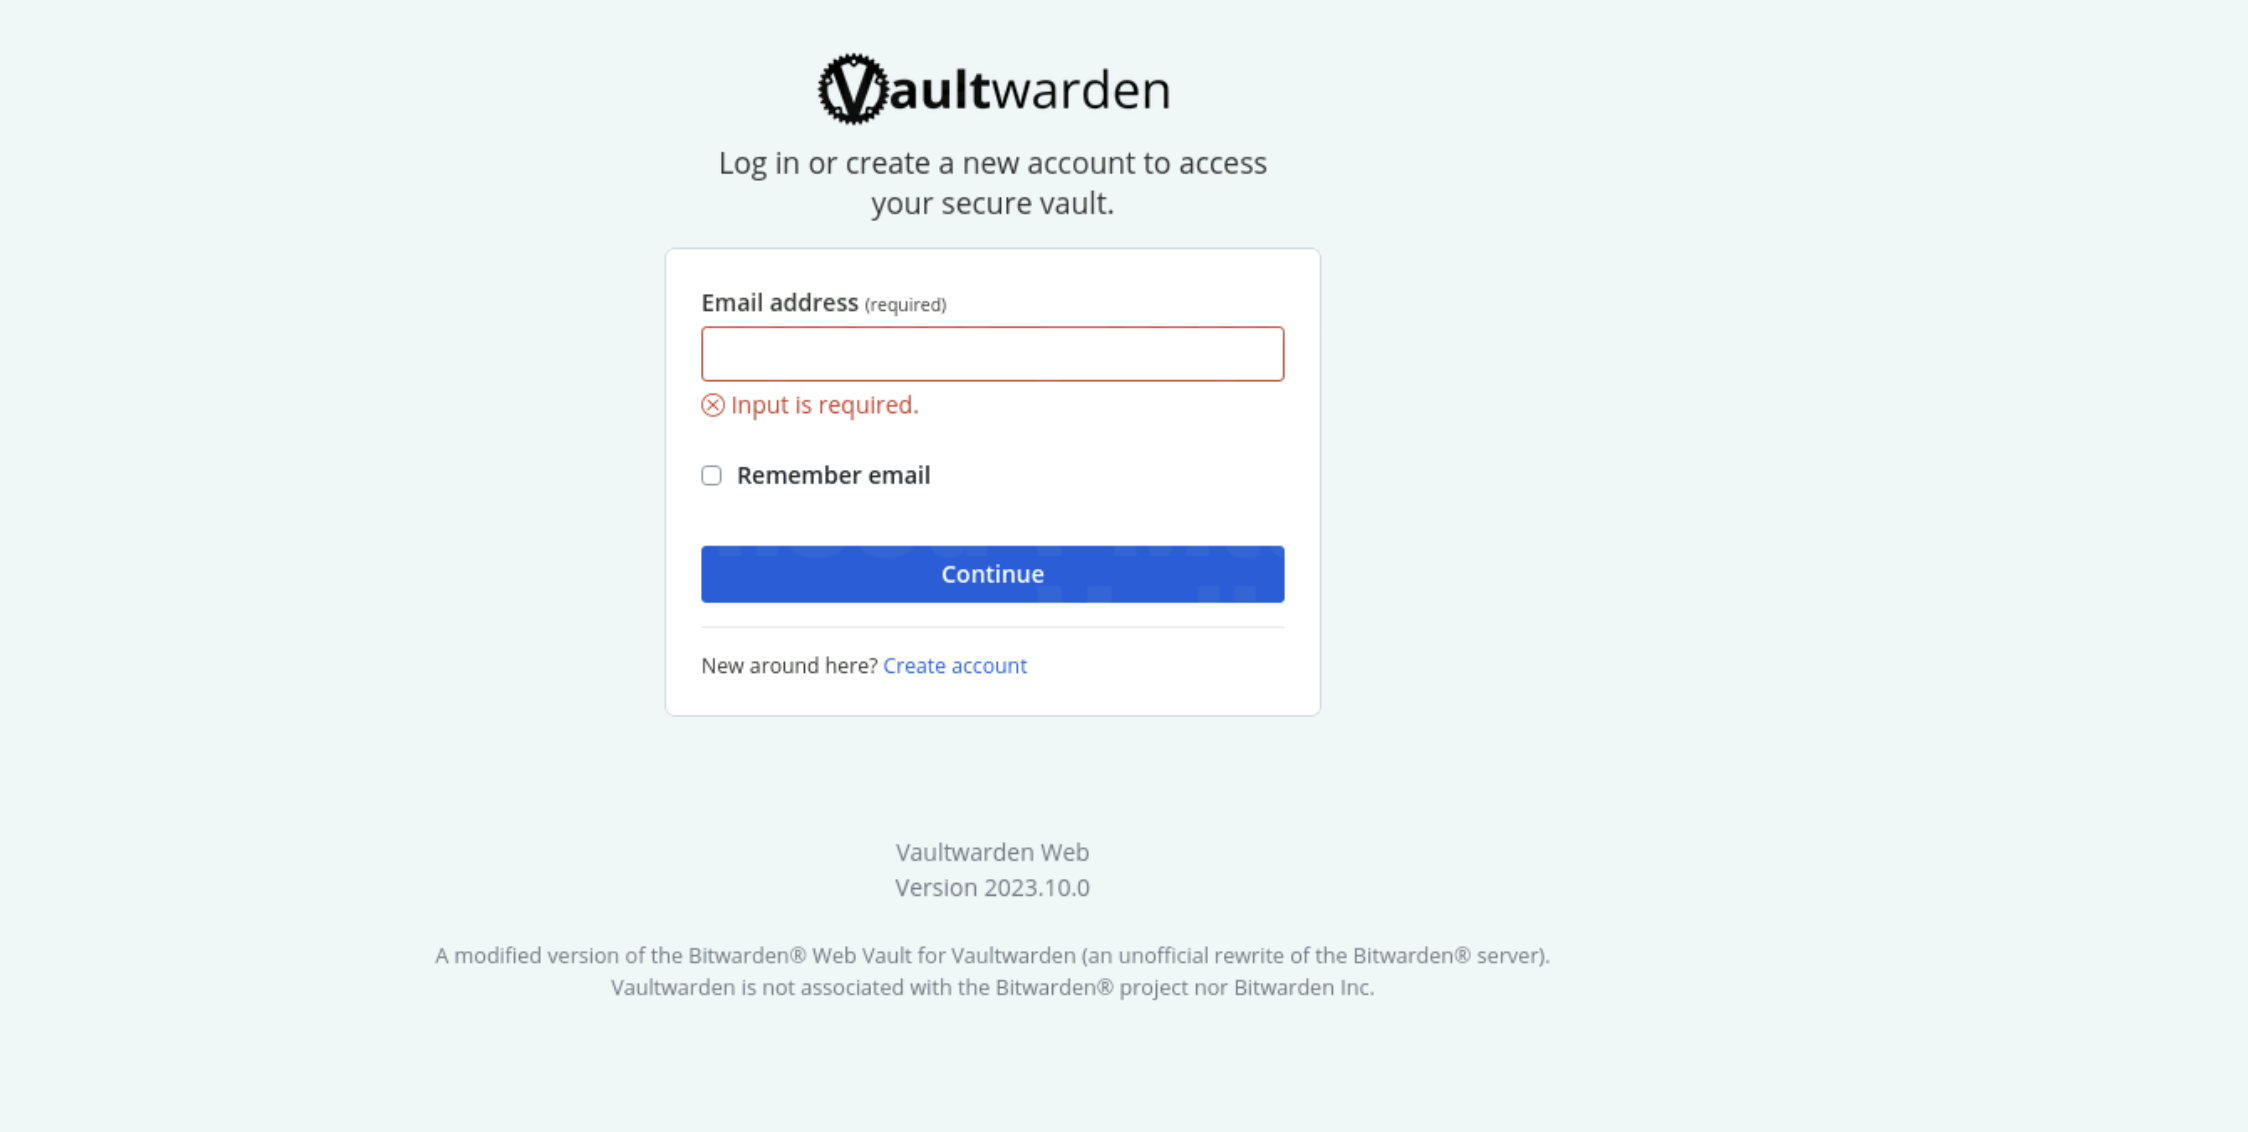
이렇게 하면 설치가 완료되었다. 로그인하고 사용하면 된다.

마무리
- Vaultwarden은 가볍고 강력한 비밀번호 관리 솔루션으로, 온프레미스 환경이나 개인 클라우드 환경에서 유용하게 쓸 수 있다.
- Bitwarden과의 높은 호환성 덕분에 기존 Bitwarden 사용자도 쉽게 적응할 수 있으니, 안전한 비밀번호 관리 환경을 구축할 때 적극 활용해보세요!
Reference
- https://github.com/gissilabs/charts
- https://github.com/dani-garcia/vaultwarden/wiki/Backing-up-your-vault
- https://chromewebstore.google.com/detail/bitwarden-%EB%B9%84%EB%B0%80%EB%B2%88%ED%98%B8-%EA%B4%80%EB%A6%AC%EC%9E%90/nngceckbapebfimnlniiiahkandclblb
- https://harish2k01.in/installing-vaultwarden-secure-password-manager-for-your-home-lab/
'Security' 카테고리의 다른 글
| Zero Trust 보안 모델 – 더 이상 신뢰하지 말고, 검증하라 (0) | 2025.05.26 |
|---|---|
| Vault 설치와 사용법 (2) | 2024.01.24 |
| Vault란? (0) | 2022.10.11 |
